Showing posts with label dark chocolate. Show all posts

Tuesday, October 2, 2012

S'Mores Bars!

So much for me being an on-time blogger. This is what happens when you're a busy girl! But I am finally blogging about one of my favorite baking treats! S'more's Bars!

I don't think it's any sort of secret how obsessed I am with s'mores...which is slightly odd considering I can't tell you the last time I had a real s'more. But I love all things s'more (well, almost...the s'more Luna bars are not good). I've made a killer s'mores pie before, I reeeeeally want to make some s'more's cupcakes at some point, and I keep pinning other s'mores type recipes. And of course, the deliciousness of s'mores bars. I think my favorite part of making these was my niece and nephew's reactions to them. Henderson was super excited about eating them after just seeing a picture, and Bellamy, after finishing her piece, kept asking for more. Just another reason I love to bake.

You'll want to pre-heat the oven to 350 degrees, and set out a 1/2 cup of butter (1 stick) so it can come to room temperature. Then you'll want to crush 6 graham crackers. This part is fun. I always love using my heavy duty rolling pin. It's a good way to get out any aggression too. 


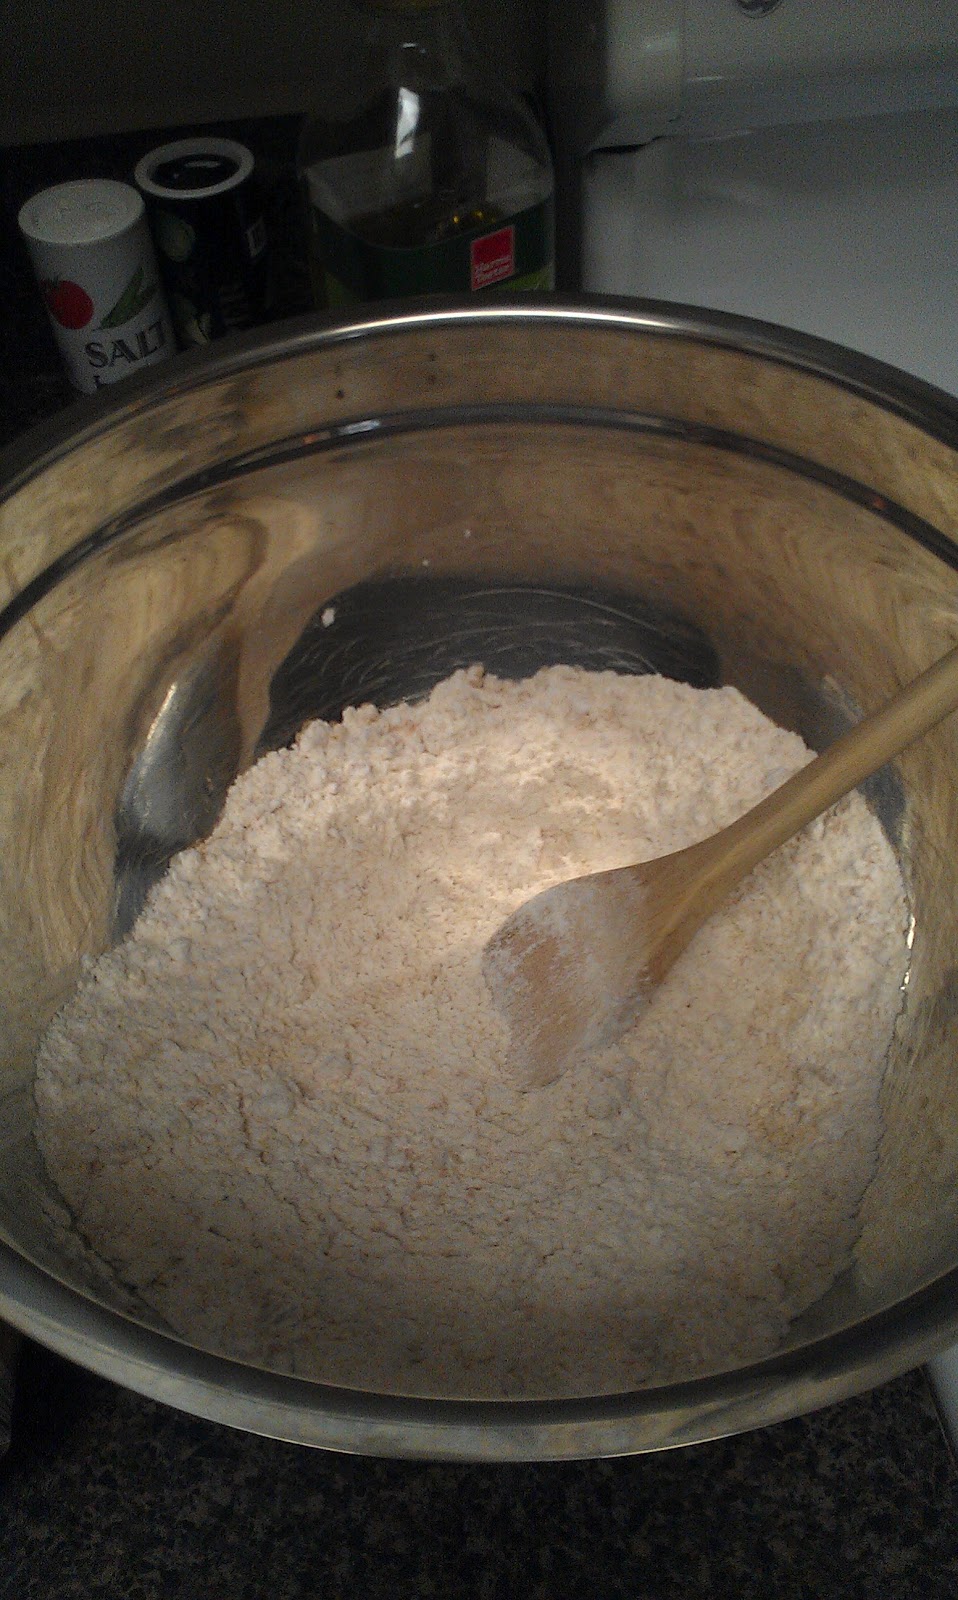
Mix together 1 and 1/3 cup flour, 1 tsp baking powder, 1/4 tsp of salt, and the graham cracker crumbs.
In your mixer, combine your room temperature butter, 1/2 cup sugar, and 1/4 cup brown sugar.

Then you'll add in one egg and one teaspoon vanilla.

Mix in the dry ingredients and you have your crust!

You'll want to press half the crust into your 8x8 pan, and then you'll layer your two king sized chocolate bars (I used dark chocolate because let's face it, it's WAY better than any other type) and one 7oz jar of marshmallow fluff (which made me start craving fluffernutter sandwiches).


Then you'll create a top layer with the rest of the crust mixture. I found the easiest way to do this was take sections, flatten them in my hand, and then just kind of place them around the top.

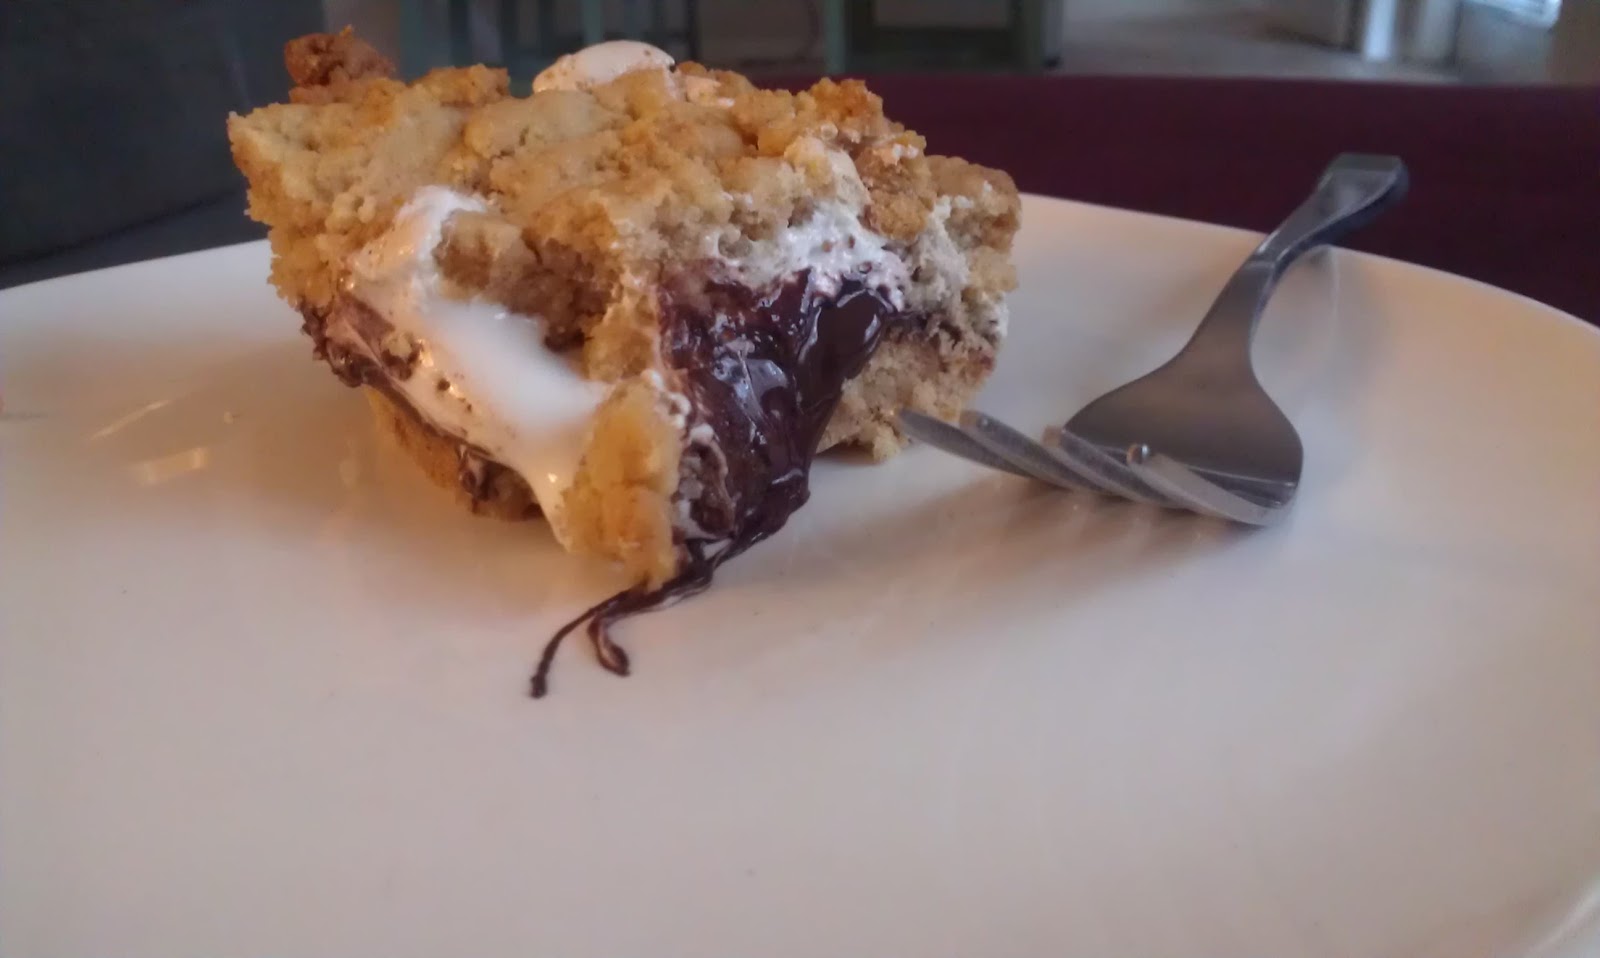
After baking for 30 minutes, you have this AMAZINGNESS. OMG. Even my apartment smelled of s'mores. It's heaven. I wanted to bottle that smell up for later, but I guess I'll just have to make them all the time instead.
Monday, February 27, 2012

Peanut Butter Blossoms with Dark Chocolate Kisses

You know what I haven't done in awhile? Bake. I'm not sure why it's been so long, I think it's because I've had a lot of other things to deal with in the last month and just haven't thought about baking. But luckily I planned ahead, and I had all the ingredients for Peanut Butter Blossoms with Dark Chocolate Kisses in my pantry, ready for when I was ready to bake them. And that day was today!

Do you remember those cookies? They're such classics. I remember they used to sell them in travel packs of two and I would take them with my lunch. I would always eat the cookie around the kiss first before eating the chocolate. So good.

When I saw on Bakerella that she made these classic cookies, but with a dark chocolate twist, I knew that I needed to make those. I have a growing addiction to dark chocolate so I figured I couldn't go wrong with them. Plus, they're so simple to make! They're a good way to get back into the baking groove.

First, warm your oven to the classic 350 degrees after setting out a stick of butter to soften.

Then combine 1.5 cups flour, 3/4 tsp baking soda, and 1/2 tsp salt in a small bowl with a whisk. Set aside.


Then take the 1/2 cup (1 stick) of butter, and cream with 1 cup of peanut butter. One trick I learned (I assume via Pinterest, I can't remember, but that's a pretty safe bet), is that when working with sticky ingredients like peanut butter, take your measuring cup and run it under hot water for a few seconds. Then dump the water out, but don't dry the cup. Then scoop your ingredient (in this case, peanut butter) into the measuring cup to get the right amount, and then dump it into the mixing bowl. Because of the hot water, it won't stick to the cup and so you won't have to keep scraping to get all the peanut butter out and it'll be easier to clean!

You'll want to cream it for a few minutes on medium speed so they're fully incorporated. Then add in 1 cup sugar and mix until fluffy.

Next up is 1 egg and 2 tsps vanilla extract that you can add at the same time. Then just mix until it's well incorporated.

After that, you add in the flour mixture and mix until well combined!

The dough will be pretty stiff at this point, which is perfect! You'll want to take the dough and roll it into 1 inch balls. Then you'll roll them in granulated sugar before putting them on a parchment lined baking sheet. I was able to fit about 20 cookies on each sheet (for a total of 40 cookies). They don't spread out much, so you can fit plenty to a sheet.

After baking for about 9 minutes, take the cookies out of the oven, and immediately push a dark chocolate Hershey's kiss into the center of the cookie! I unwrapped all the chocolates while the cookies were baking so this was a quick step. 

The cookies were super soft and super tasty! Because I put the chocolate in the cookie while it was warm, it made the kisses really soft. The dark chocolate melds very well with the peanut butter and wasn't overpowering which sometimes dark chocolate can be. These are definitely on the list to make again!