Showing posts with label fall. Show all posts

Thursday, November 1, 2012

Halloween Baking: Apple Cider Poundcake

When I was little, I loved going trick-or-treating with my friends at Halloween. I remember one year in preschool I went as a Hershey Bar (and an adorable one at that, duh), and then as I got older I just watched scary movies and passed candy out to the neighborhood kids. Once I was in college, I didn't really do anything until they started the Haunted Hillsborough Hike my senior year. That year I was a magic 8 ball. It was an interactive costume and everything! And then another year I was Wilma Flintstone, which was probably one of my better costumes...until this year.

Now, when it comes to Halloween costumes, my best ideas have always been classic 90s characters (shocker, I know), but I've never really been able to/got around to following through with them. But when one of my best friends, Katie, and her husband decided to have a Halloween party, I knew I needed to finally make one of them happen (I won't reveal the other two because I'm saving those for future years).

BAM!
If you don't know who I am, then shame on you, because pretty much everyone figured it out without me telling them! It was awesome! I was super proud of it. The trench coat I got specifically because I wanted to wear it again, and the hat I bought from Target and spray painted it red (it was originally purple). Of course, the only fail was multiple people telling me they found me! I'm not a very good Carmen Sandiego in that regards, I guess. There were plenty of other fantastic costumes: the 10th Doctor, the TARDIS, a heavy metal rocker, Abe Lincoln Vampire Hunter, Richard Simmons, Batman, Rosie the Riveter, and plenty more. Overall it was a fun night!

But, on to the baking, which is why you read this thing, right? You mean you don't enjoy my silly random stories? Whatevs, I'll be telling them anyways :) 

So because the party was on Halloween, which was Wednesday this year, I wanted to bake, but bake something that was fairly simple because of my busy week. And since it's fall fall and everything fall (you know how much I love fall), an Apple Cider Pound cake seemed like the perfect choice. And let me tell you, this was one serious pound cake. 

After mixing together three cups flour, 1/2 tsp salt, and 1/2 tsp baking powder, I added in the spices: 1 tsp cinnamon, 1/2 tsp nutmeg, and 1/8 tsp ground cloves.


Now, it's Halloween time, and I swear I did not dump my spices in this way on purpose. It just kind of happened. I looked down into the bowl, and just started giggling to myself.
Baking ghost! Aaaaah!
After that fun little hilarity, I mixed three cups sugar with three (yes, three) softened sticks of butter (1.5 cups).

Once that was nice and fluffy, I added in SIX eggs. So. many. eggs. One at a time, mixing well after each one. Then it was time to prep the apple cider!! One of the brilliant things about this recipe was that I didn't have to go to the store and buy a single special ingredient. Why? Because I can make apple cider with my Keurig!!

It was also kind of hilarious putting my measuring cup under the Keurig while it brewed since I needed one cup (and I had to make sure it was the right amount!)


I mixed in 1 tsp vanilla into the cider, and then alternately poured the flour mixture and the apple cider into the sugar/butter/egg mixture until it was all combined. Then poured it into my greased bundt pan.

I baked the cake at 325 for probably about 85 minutes...I started out at 70, but because the batter was so thick, I kept adding on time to make sure it was fully done. 

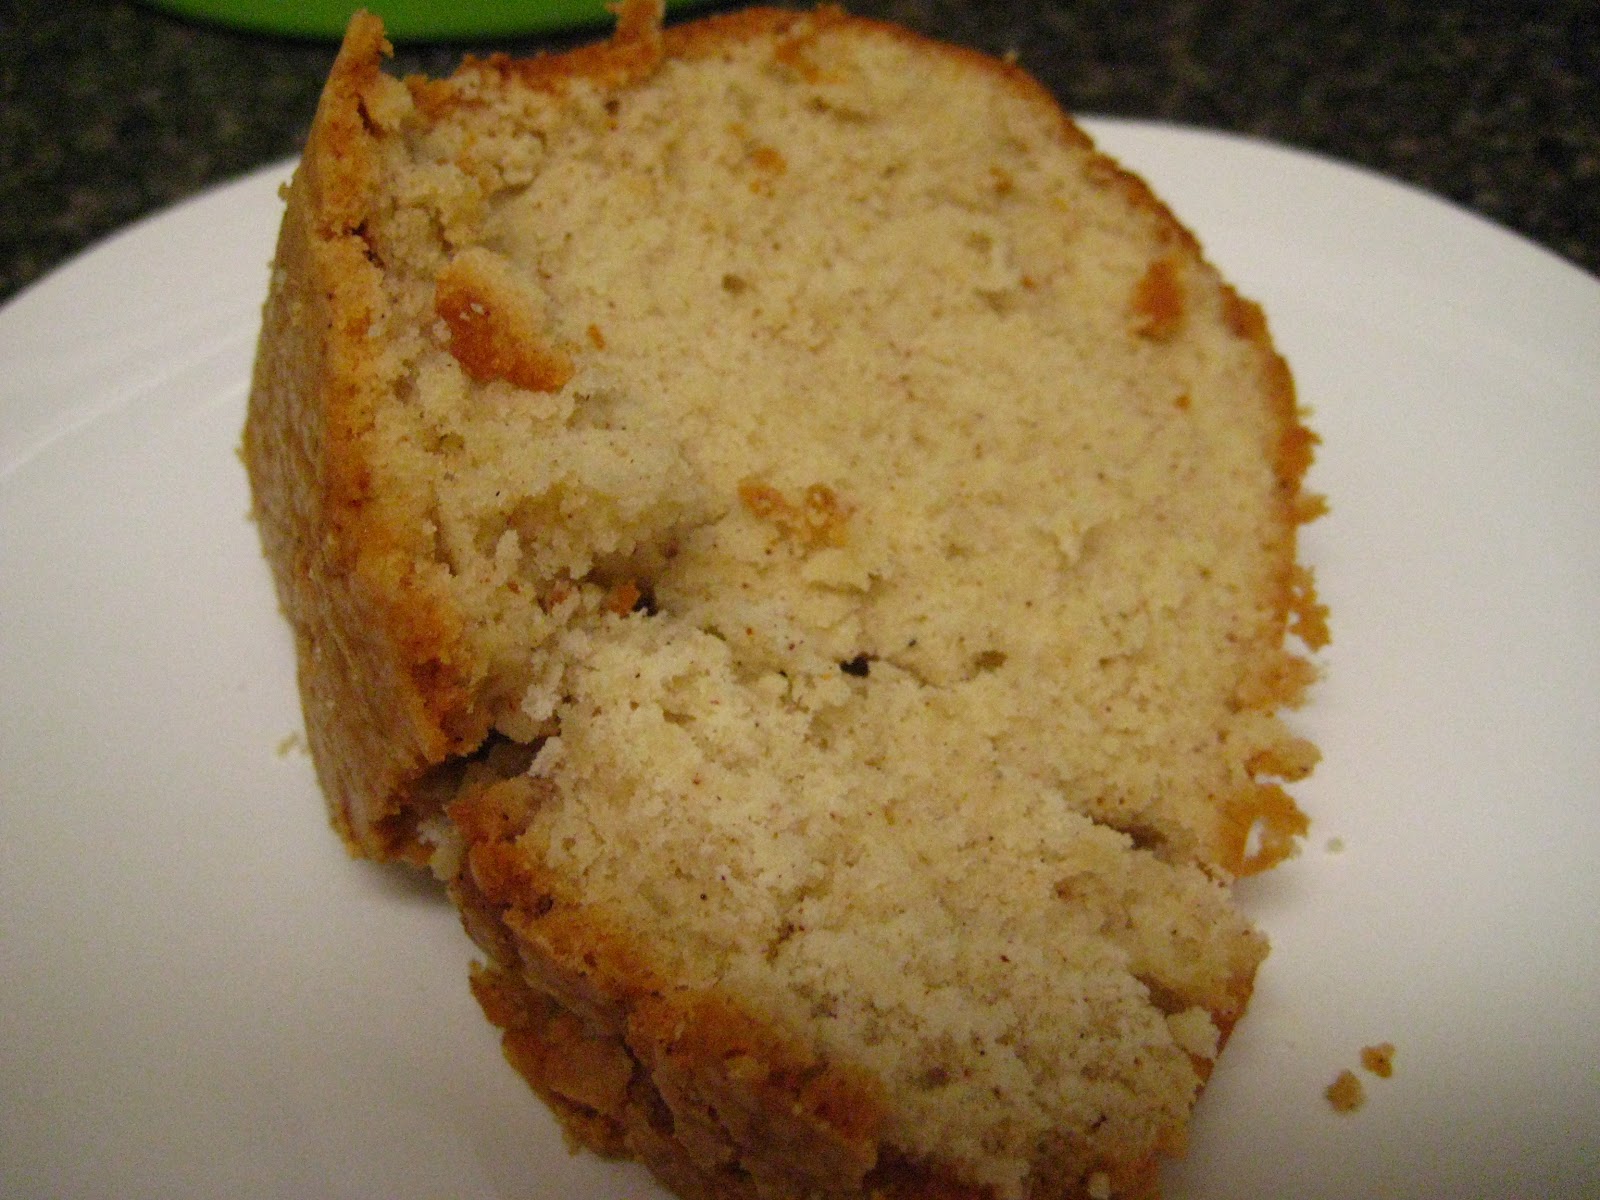
And the end result?


VERY DELICIOUS. The texture was perfect. You could just break off a piece cleanly (well, after you cut off a piece, you could break off a piece of that piece), you don't even really need a fork and plate because it held together so well. And it wasn't dried out at all, and just the right amount of spices. I'm definitely a big fan of this one, and will for sure make it again.

I LOVE FALL BAKING!!!

Sunday, October 21, 2012

Pumpkin Spice Latte Bundt Cake with Espresso Whipped Cream

I love fall. I love the colors the leaves turn. I love the crisp air as I watch football. I love mums. I love apples and warm spices. I love the NC State fair. I love boots and sweater dresses. But most importantly, I love PUMPKIN. Starbucks Pumpkin Spice Lattes, International Delight Pumpkin Spice creamer, Krispy Kreme pumpkin donuts, pumpkin pie, pumpkin muffins (not pumpkin cream pasta sauce though...attempted to make that once and it was a disaster, so never again!), pumpkin cheesecake, pumpkin bread, pumpkin butter bars, etc. You kind of get where I'm going with this.

So, while trolling Pinterest I found a recipe for a Pumpkin Spice Latte Bundt Cake recipe, that included a recipe for homemade espresso whipped cream. My mouth instantly started watering. I love a simple bundt cake...way easier than a regular cake, plus it has a fun shape to it. And this one, my friends, was a winner. Most importantly, hours later, my apartment still smells of delicious pumpkin and spice.

You start by combining 2 cups flour, 1/2 tsp baking soda, 1 tsp baking powder, 1/4 tsp salt, and 2 tsps pumpkin pie spice in a medium mixing bowl.


In your mixer, combine a softened stick of butter (1/2 cup) and 1 cup sugar for 2 minutes until light and fluffy.


After adding in two eggs, you'll add in 1 cup of pure pumpkin puree.


Then add in half the flour mixture, 1 cup milk, and then the rest of the flour mixture, mixing until incorporated after each addition.


Once your batter is prepared, pour it into a greased bundt pan, and pop it in the oven at 350 for 50-55 minutes! Easy peasy!


The espresso whipped cream was the easiest thing to make too. You just combine 2 cups cold heavy whipping cream, 3 tablespoons sugar, 2 tablespoons ice cold coffee (I used some Starbucks...it's not technically espresso, but it's what I have ha), and 2 teaspoons unsweetened cocoa powder.


Just mix with your whisk attachment on your mixer on high speed for 4-5 minutes (tip: start on a low speed and as it stiffens, increase the speed).


And then you slice yourself a piece and top it with some whipped cream and OH.EM.GEE.


Seriously amazing. It really does taste almost like a PSL (with a hint of cocoa from the whipped cream). The cake is dense, yet moist, the absolute perfect texture. I kind of wish I hadn't told one of my coworkers I was bringing it in to the office tomorrow morning because I would totally have kept it and eaten all of it myself all week!

Saturday, October 22, 2011

Pinterest Crafting - Fall Wreath

One of my favorite websites is Pinterest. It's a website where you can save anything you find on the web and have pictures for reference. It's great for saving craft ideas, recipes, decorating ideas, party planning ideas, and other random categories. Anything you can think of. It's also a huge community where you can search and see what other people are pinning and get ideas from them as well.

It's so helpful because it links back to the site that the pin is on, so you can get to the directions for whatever it is, or buy it if it's a product you love. It's much better than either printing ideas, or saving them in some other form on your computer. Plus, when you look at your boards, having the pictures for reference is an exciting way to be inspired.

Because of Pinterest, I've gotten really into wreaths. There are so many out there beyond Christmas ones! You can make yarn ones, spring themed ones, burlap ones, etc. I found a fall wreath that I absolutely loved that I just had to make. There's something so homey about coming home to a door with a nice festive wreath on it. Here is the link to my inspiration: Fall Wreath.

So armed with an AC Moore coupon, I headed out to buy my supplies. I bought a 14" grapevine wreath, four fake ranunculus flowers (I've recently become obsessed with the shape of them), and instead of plain berry springs, I got fake leaf and berry sprigs.

I started by cutting the ends off the flowers, but leaving a chunk of the stem so I could shove it through the wreath. I used some floral wire to try and secure it too (let's hope how I did it worked and I don't wake up to a bare wreath).

And then I broke up the leaf and berry sprigs to shove bits randomly into the other side.

And here's the completed wreath!

And here it is on my door!

Now, the only real problem is that the wreath is a tad small. It tries to hide my apartment number, but I luckily got it set so it's just barely below the peep hole so I can see the number while still seeing out my peep hole. Next wreath I make will be a bit bigger so I don't have to worry about those things, but all in all, for a simple craft project, I think it turned out well! It'll definitely make me happy to come home and see that on my door.