Thursday, November 1, 2012

Halloween Baking: Apple Cider Poundcake

When I was little, I loved going trick-or-treating with my friends at Halloween. I remember one year in preschool I went as a Hershey Bar (and an adorable one at that, duh), and then as I got older I just watched scary movies and passed candy out to the neighborhood kids. Once I was in college, I didn't really do anything until they started the Haunted Hillsborough Hike my senior year. That year I was a magic 8 ball. It was an interactive costume and everything! And then another year I was Wilma Flintstone, which was probably one of my better costumes...until this year.

Now, when it comes to Halloween costumes, my best ideas have always been classic 90s characters (shocker, I know), but I've never really been able to/got around to following through with them. But when one of my best friends, Katie, and her husband decided to have a Halloween party, I knew I needed to finally make one of them happen (I won't reveal the other two because I'm saving those for future years).

BAM!
If you don't know who I am, then shame on you, because pretty much everyone figured it out without me telling them! It was awesome! I was super proud of it. The trench coat I got specifically because I wanted to wear it again, and the hat I bought from Target and spray painted it red (it was originally purple). Of course, the only fail was multiple people telling me they found me! I'm not a very good Carmen Sandiego in that regards, I guess. There were plenty of other fantastic costumes: the 10th Doctor, the TARDIS, a heavy metal rocker, Abe Lincoln Vampire Hunter, Richard Simmons, Batman, Rosie the Riveter, and plenty more. Overall it was a fun night!

But, on to the baking, which is why you read this thing, right? You mean you don't enjoy my silly random stories? Whatevs, I'll be telling them anyways :) 

So because the party was on Halloween, which was Wednesday this year, I wanted to bake, but bake something that was fairly simple because of my busy week. And since it's fall fall and everything fall (you know how much I love fall), an Apple Cider Pound cake seemed like the perfect choice. And let me tell you, this was one serious pound cake. 

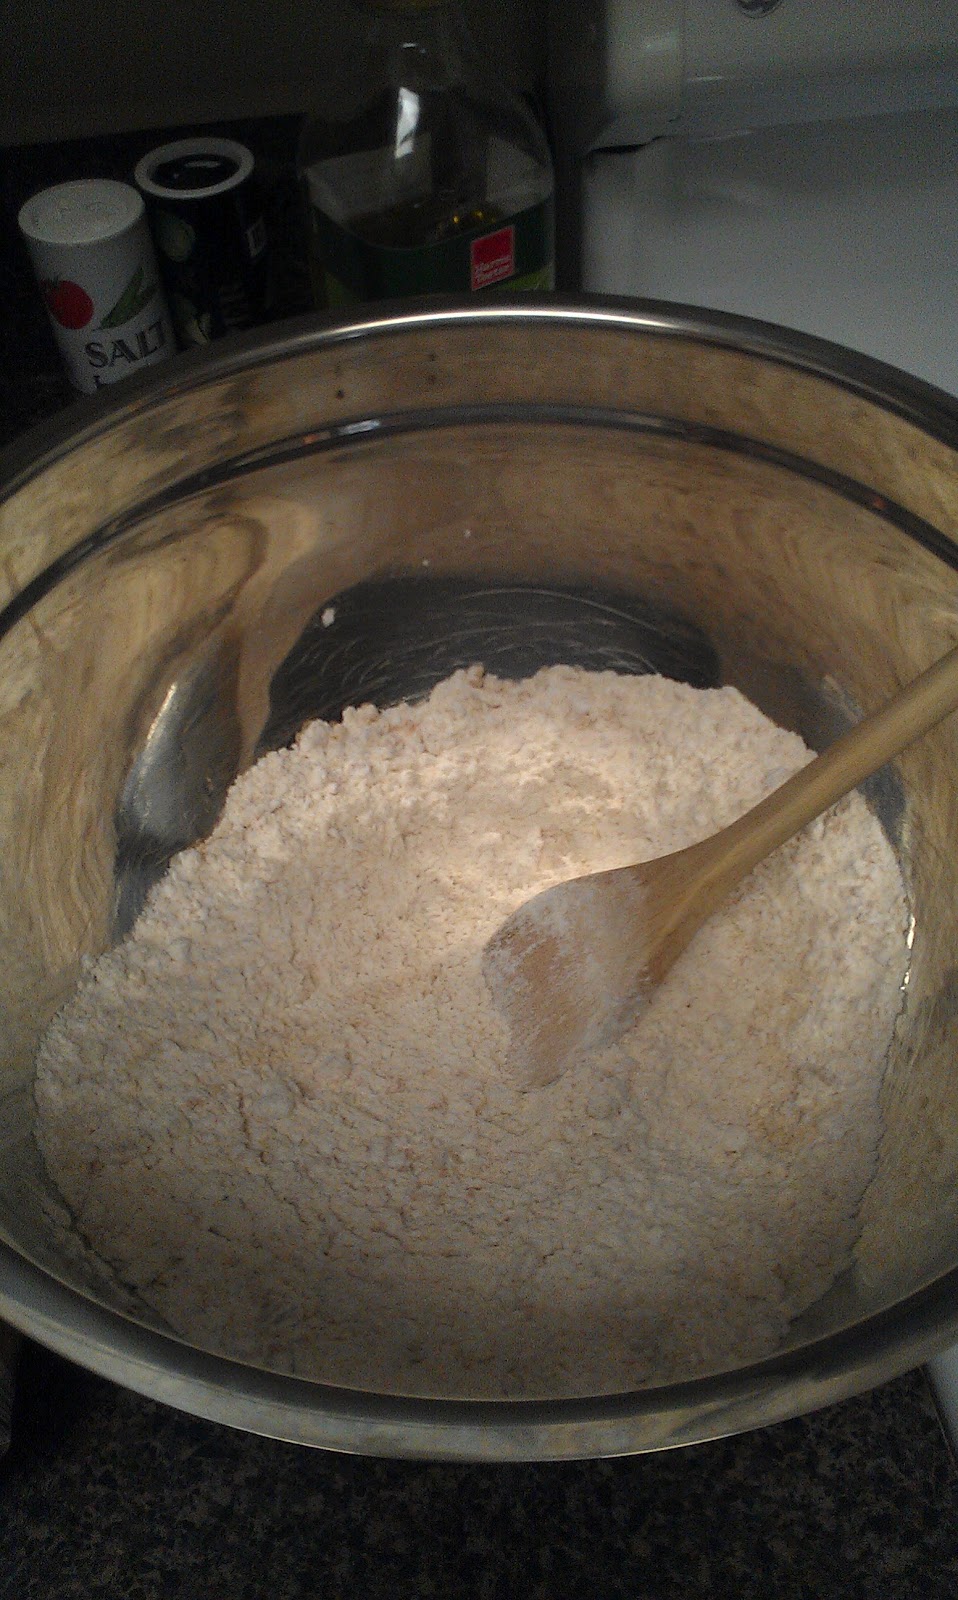
After mixing together three cups flour, 1/2 tsp salt, and 1/2 tsp baking powder, I added in the spices: 1 tsp cinnamon, 1/2 tsp nutmeg, and 1/8 tsp ground cloves.


Now, it's Halloween time, and I swear I did not dump my spices in this way on purpose. It just kind of happened. I looked down into the bowl, and just started giggling to myself.
Baking ghost! Aaaaah!
After that fun little hilarity, I mixed three cups sugar with three (yes, three) softened sticks of butter (1.5 cups).

Once that was nice and fluffy, I added in SIX eggs. So. many. eggs. One at a time, mixing well after each one. Then it was time to prep the apple cider!! One of the brilliant things about this recipe was that I didn't have to go to the store and buy a single special ingredient. Why? Because I can make apple cider with my Keurig!!

It was also kind of hilarious putting my measuring cup under the Keurig while it brewed since I needed one cup (and I had to make sure it was the right amount!)


I mixed in 1 tsp vanilla into the cider, and then alternately poured the flour mixture and the apple cider into the sugar/butter/egg mixture until it was all combined. Then poured it into my greased bundt pan.

I baked the cake at 325 for probably about 85 minutes...I started out at 70, but because the batter was so thick, I kept adding on time to make sure it was fully done. 

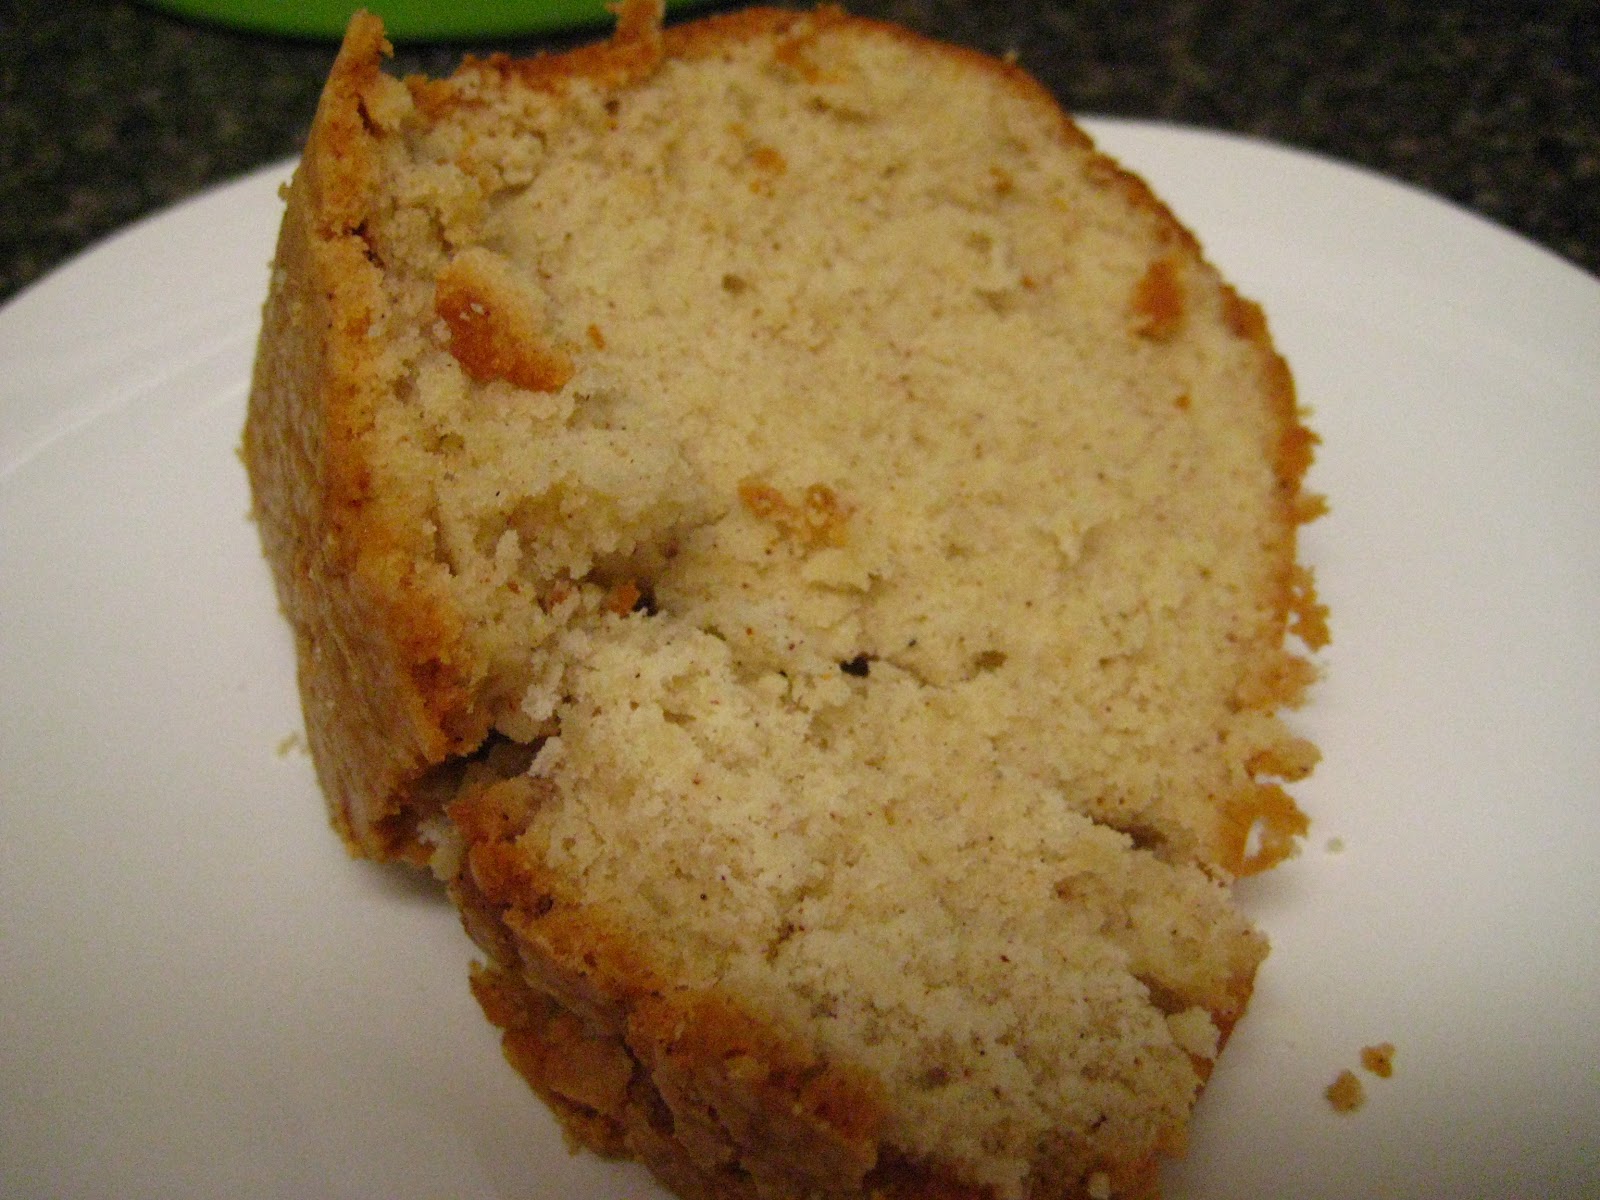
And the end result?


VERY DELICIOUS. The texture was perfect. You could just break off a piece cleanly (well, after you cut off a piece, you could break off a piece of that piece), you don't even really need a fork and plate because it held together so well. And it wasn't dried out at all, and just the right amount of spices. I'm definitely a big fan of this one, and will for sure make it again.

I LOVE FALL BAKING!!!

Sunday, October 21, 2012

Pumpkin Spice Latte Bundt Cake with Espresso Whipped Cream

I love fall. I love the colors the leaves turn. I love the crisp air as I watch football. I love mums. I love apples and warm spices. I love the NC State fair. I love boots and sweater dresses. But most importantly, I love PUMPKIN. Starbucks Pumpkin Spice Lattes, International Delight Pumpkin Spice creamer, Krispy Kreme pumpkin donuts, pumpkin pie, pumpkin muffins (not pumpkin cream pasta sauce though...attempted to make that once and it was a disaster, so never again!), pumpkin cheesecake, pumpkin bread, pumpkin butter bars, etc. You kind of get where I'm going with this.

So, while trolling Pinterest I found a recipe for a Pumpkin Spice Latte Bundt Cake recipe, that included a recipe for homemade espresso whipped cream. My mouth instantly started watering. I love a simple bundt cake...way easier than a regular cake, plus it has a fun shape to it. And this one, my friends, was a winner. Most importantly, hours later, my apartment still smells of delicious pumpkin and spice.

You start by combining 2 cups flour, 1/2 tsp baking soda, 1 tsp baking powder, 1/4 tsp salt, and 2 tsps pumpkin pie spice in a medium mixing bowl.


In your mixer, combine a softened stick of butter (1/2 cup) and 1 cup sugar for 2 minutes until light and fluffy.


After adding in two eggs, you'll add in 1 cup of pure pumpkin puree.


Then add in half the flour mixture, 1 cup milk, and then the rest of the flour mixture, mixing until incorporated after each addition.


Once your batter is prepared, pour it into a greased bundt pan, and pop it in the oven at 350 for 50-55 minutes! Easy peasy!


The espresso whipped cream was the easiest thing to make too. You just combine 2 cups cold heavy whipping cream, 3 tablespoons sugar, 2 tablespoons ice cold coffee (I used some Starbucks...it's not technically espresso, but it's what I have ha), and 2 teaspoons unsweetened cocoa powder.


Just mix with your whisk attachment on your mixer on high speed for 4-5 minutes (tip: start on a low speed and as it stiffens, increase the speed).


And then you slice yourself a piece and top it with some whipped cream and OH.EM.GEE.


Seriously amazing. It really does taste almost like a PSL (with a hint of cocoa from the whipped cream). The cake is dense, yet moist, the absolute perfect texture. I kind of wish I hadn't told one of my coworkers I was bringing it in to the office tomorrow morning because I would totally have kept it and eaten all of it myself all week!

Monday, October 8, 2012

Luna Bar Research

Remember when you were a kid and you did those science fair projects? As a non-sciency person, I would generally do something simple and fairly cheesy. I remember doing one where I tested people's ability to taste salty/sour/sweet flavors. Why? Who knows. I guess I thought I was being creative? As an adult not in a field where I need to conduct experiments like those, there's really no need for them. Or so one of my best friends, Megan, and I thought!

We also like mimosas!
In an effort to have a somewhat more healthy snack, as well as one that is more filling, and have something with protein for a post-workout snack, Megan and I started looking into different protein bars. When I was in high school and working at Planet Smoothie, I would often get a Luna bar to eat while I was there since we sold them in the store. I had become addicted to the Nutz Over Chocolate, so I decided to revisit my Luna bar obsession. After expressing my love of the Nutz Over Chocolate to Megan, she decided to start trying them too. We both started trying different flavors, and thus began our scientific research on which Luna bar is the best.

According to Luna's website, there are 15 different flavors. They also have minis, gluten-free, and fiber bars, but we focused our research on the classic bar. This may not be the most scientific way of going about it, but we immediately ruled out the ones we thought sounded gross: Chocolate Dipped Coconut, LemonZest, and Toasted Nuts 'n Cranberry. Also, the research is not fully complete because we are missing Blueberry Bliss and Peanut Honey Pretzel, but we're going to ignore that little fact and say our research is basically complete. A 10 bar sample is pretty darn good if you ask me.

We divided up the flavors and had a few different categories: level of sweetness (rated 1-10, 1 being low sweetness), texture, and overall thoughts. Here are our findings:

Caramel Nut Brownie
Reviewer: Carolyn
Sweetness: 7
Texture: Crispy and oaty, but brownie like
Would you have it again: Sure. Not my first choice, but not bad.
Thoughts: Overall, I liked it. The caramel frosting was on top and the bar part was kind of like an oaty brownie. It was a little too sweet for me for a post-workout/breakfast protein bar, but I think it's good for a lunch time dessert, or mid-afternoon sweet pick-me-up that's a little healthier than a cookie.

Chocolate Chunk

Reviewer: Megan
Sweetness: 6
Texture: chunky like granola
Would you have it again: Yep.
Thoughts: Overall, this one was pretty good. It was the most savory bar I have tried, mostly because the chocolate "chunks" are pretty sparse. In fact, I think calling them chunks is a bit of an exaggeration. The nutty oat and granola-like taste along with the chocolate make for a good snack or breakfast bar.

Chocolate Peppermint Stick

Reviewer: Carolyn
Sweetness: 8
Texture: A little rough because of a lot of oats, chewy and soft
Would you have it again: More than likely
Thoughts: This tasted like an oaty version of a Thin Mint. There is absolutely nothing wrong with that because you'll just eat one bar instead of a whole sleeve of cookies, and get some vitamins with it. Like with the Caramel Nut Brownie, this is definitely more of a "dessert" protein bar.

Chocolate Raspberry

Reviewer: Carolyn
Sweetness: 8
Texture: Chewy, brownie like
Would you have it again: Definitely.
Thoughts: I've always liked the chocolate raspberry flavor combination. This is no exception. It's not a super fruity flavor, which is preferable, and it has the icing on top. It's definitely satisfying, but also more like a dessert.

Iced Oatmeal Raisin

Reviewer: Megan
Sweetness: 9
Texture: soft and a bit chewy because of the raisins

Would you have it again: Yes!
Thoughts: I really liked this one!  I love oatmeal raisin cookies, so it wasn't that surprising and this one didn't disappoint.  There wasn't a fake sweet taste either, the icing on top was light but delicious. I like the texture that the raisins added.  This one is a good dessert bar, a mid-afternoon pick-me-up, if you will.

Nutz Over Chocolate

Reviewer: Carolyn and Megan
Sweetness: Carolyn: 3; Megan: 6
Texture: Carolyn: Solid, chewy in a good way, slightly crispy; Megan: perfection
Would you have it again: Carolyn: YOU BET. Megan: YES!
Thoughts: 
Carolyn: Old favorite, still my favorite. There is just something so perfect about this bar. It's not uber sweet, it's incredibly satisfying, and I could eat it any time, especially post-workout.
Megan: This is my absolute favorite one, the timeless classic as far as Luna bars go. :)  I think it's probably the most popular one because it's in every store that carries these bars by the box. You'll find a sweeter bar, but this one is the perfect balance between something savory with a lot of protein and sweet so you enjoy eating it.  It's a treat that I love to have after a workout, yet I could see it being an afternoon snack to solve your (tame) sweet tooth. And isn't chocolate and peanuts the perfection combination, anyways?

Peanut Butter Cookie

Reviewer: Megan
Sweetness: 4
Texture: The top part was really thick and gooey, bleh

Would you have it again: No.
Thoughts: Having "cookie" in the title of this one was misleading!  You might think that you'll be in for a sweet treat, but do not be fooled!  This was just tons of thick peanut butter on top of peanuts.  It was too overwhelming and monocromatic of a taste for me, especially not to have any of the "dessert" factor.  

S'Mores

Reviewer: Carolyn and Megan
Sweetness: Carolyn: 10; Megan: 7
Texture: Carolyn: Solid, chewy, slightly crispy, a lot like Nutz Over Chocolate; Megan: the marshmallow was a little bit gooey, and lots of chunky things happening on top
Would you have it again: Carolyn: only because I have a box to finish and I don't want to waste them. After that, nope. Megan: Nah.
Thoughts:
Carolyn: I'm a lover of all things s'more...except this bar. The marshmallow taste was too strong and too fake and not as balanced as it should be with the graham and chocolate flavors. I'll eat them if I have to (and so I can finish off the box) but I'm not really planning on buying them again.
Megan: The marshmallow taste in this one was just weird---it tasted artificially sweetened, like it was made with Splenda or something similar, although I checked the ingredients and it wasn't!  It overpowered the entire taste of the bar and just made it not pleasant.

Vanilla Almond
Reviewer: Carolyn
Sweetness: 3
Texture: Solid, chewy in a good way.
Would you have it again: Yes!
Thoughts: This was by far the closest to the Nutz Over Chocolate...basically the vanilla version of it! Not too sweet, but not too bland. The perfect alternative when you're not in a chocolate mood.

White Chocolate Macadamia 
Reviewer: Carolyn
Sweetness: 5
Texture: Chewy, slightly crispy, oaty
Would you have it again: More than likely.
Thoughts: This is probably the next closest in flavor power to the Nutz Over Chocolate and Vanilla Almond, which is important in my book. White chocolate is a pretty mild flavor with just that hint of sweetness, and it really does taste kind of like a white chocolate macadamia cookie! I'm not a huge fan of white chocolate, but I would eat this again.

Our decision at the end? It's still all about the Nutz Over Chocolate. DUH.


Have you had any Luna bars? Any that we haven't tried? Different opinions? Sound off!

(And yes, this blog post did  just happen)


Tuesday, October 2, 2012

S'Mores Bars!

So much for me being an on-time blogger. This is what happens when you're a busy girl! But I am finally blogging about one of my favorite baking treats! S'more's Bars!

I don't think it's any sort of secret how obsessed I am with s'mores...which is slightly odd considering I can't tell you the last time I had a real s'more. But I love all things s'more (well, almost...the s'more Luna bars are not good). I've made a killer s'mores pie before, I reeeeeally want to make some s'more's cupcakes at some point, and I keep pinning other s'mores type recipes. And of course, the deliciousness of s'mores bars. I think my favorite part of making these was my niece and nephew's reactions to them. Henderson was super excited about eating them after just seeing a picture, and Bellamy, after finishing her piece, kept asking for more. Just another reason I love to bake.

You'll want to pre-heat the oven to 350 degrees, and set out a 1/2 cup of butter (1 stick) so it can come to room temperature. Then you'll want to crush 6 graham crackers. This part is fun. I always love using my heavy duty rolling pin. It's a good way to get out any aggression too. 


Mix together 1 and 1/3 cup flour, 1 tsp baking powder, 1/4 tsp of salt, and the graham cracker crumbs.

In your mixer, combine your room temperature butter, 1/2 cup sugar, and 1/4 cup brown sugar.

Then you'll add in one egg and one teaspoon vanilla.

Mix in the dry ingredients and you have your crust!

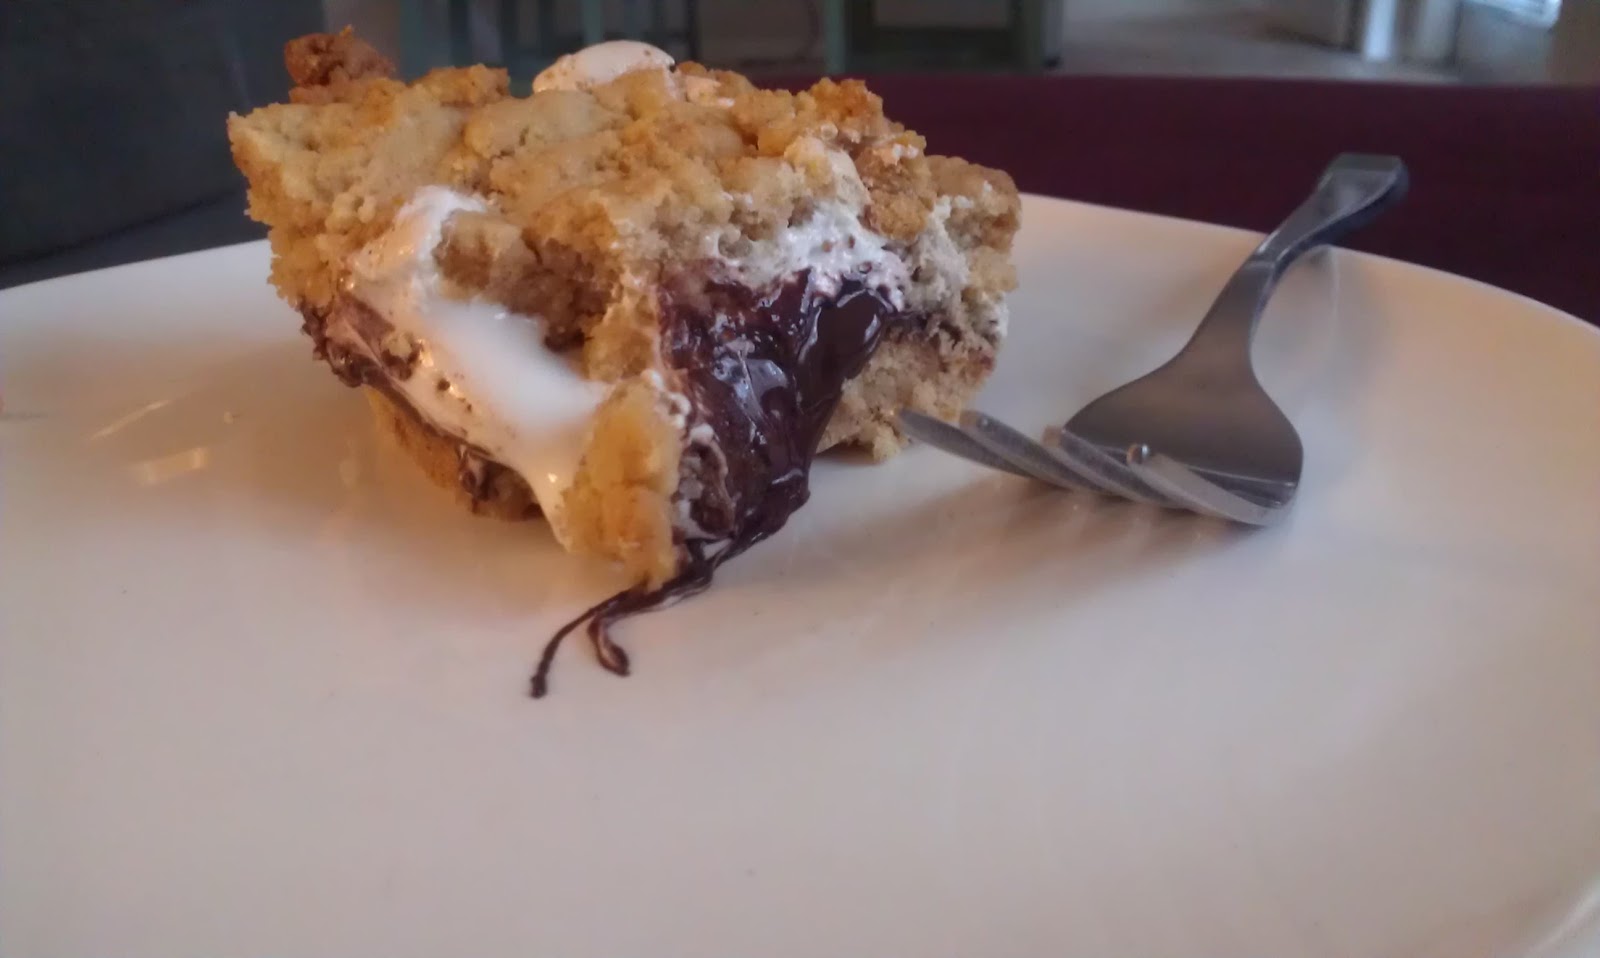
You'll want to press half the crust into your 8x8 pan, and then you'll layer your two king sized chocolate bars (I used dark chocolate because let's face it, it's WAY better than any other type) and one 7oz jar of marshmallow fluff (which made me start craving fluffernutter sandwiches).


Then you'll create a top layer with the rest of the crust mixture. I found the easiest way to do this was take sections, flatten them in my hand, and then just kind of place them around the top.

After baking for 30 minutes, you have this AMAZINGNESS. OMG. Even my apartment smelled of s'mores. It's heaven. I wanted to bottle that smell up for later, but I guess I'll just have to make them all the time instead.

Monday, September 17, 2012

Plate Wall!

For those of you who don't follow me on Pinterest, or don't hear me incessantly talk about searching for vintage plates, you might not know I've been working on creating a plate wall. Here's my Pinterest board for reference in case you have zero clue what I'm even talking about: http://pinterest.com/carolyn30/plate-wall/. As you can see, I've pinned a bunch of different types of plates (some quirky (Dr Who!!) and some very vintage) as well as ideas for placement and flow of all the plates.

There's a few reasons I love the idea of a plate wall. One, my style is very...vintage/cottage chic/earthy/bright. I feel that's a fairly accurate way to describe it. I have lots of earthy greens, off whites, dark browns, and purples throughout my apartment as well as plenty of lights that cast a soft brightness, nothing stark, but definitely not dark. A lot of my apartment really seems to be defined around my Vinyl Decal Canvas Wall Art which is definitely one of my favorite things I've made (and my most popular according to Pinterest repins). So a plate wall seemed like a great alternative decoration to just a bunch of paintings and pictures. Two, sometimes it's a fun thing to have something to collect over the years that isn't super tacky. A plate wall is something that can always grow and change over the years. You can get plates from various places you travel (which I did and will do), you can get plates with special meaning (just wait until you see what's on mine), and you can even create plates on your own (which I'm going to do very soon, so that will be a different post!).

It took me forever to turn this idea into a reality. Trying to find that first plate, that anchor plate, to start matching other plates too was proving to be very difficult. The flea market was always a bust, and same with thrift shops/Goodwill. And I wanted to at least slightly keep costs down, which has slowly become less of a priority as I find perfect plates. I haven't had time to hit up any estate sales, yard sales, and other places to track down good plates either. I wasn't too worried about it because, like I said, I knew this was going to be a lifelong project.

I have this fantastic spot in my apartment for the plate wall too.

See how there's that wall next to the door and the angled one behind my TV? Absolutely perfect for flowing up the wall and then around the corner into a curve. Right now I just have it up that side wall, but as I collect a few more plates, it'll grow over!

When I went to New York, my friend Laura and I went to Fishs Eddy, on the recommendation of my aunt and uncle, which is where we found my first two plates.


I finally had that one plate to grow around (the green one, duh), which definitely made the process easier because I could look for plates that coordinated well with it.

And then when I went with my friends Katie and Amy up to northern New York, we hit up an antique store and an awesome barn sale, and I found three more plates! (That little white one was only 25 cents!)


And then my mom found me a great North Carolina plate at some flea market (it is so much better than some of the cluttered tacky ones out there)


But the biggest win for my plate wall? My mom stalked eBay and found me this beauty:


That's right. Vintage 1946 NC State COLLEGE (that's how you know it's really vintage and not a fake) plate. It has the Belltower with Holladay Hall behind it, the first dorm, Watauga Hall, the Capital, the seal, oh it is SO PRETTY. These suckers are incredibly hard to come by, so big props to my mom for getting it for me.

So now that I had seven plates, I felt I had a good enough start to go ahead and hang them, and then grow from there. Thanks to the wonders of Pinterest, I learned about these babies: Invisible Disc Hangers. They come in all sorts of sizes, so I bought a bunch (you should really probably go with 4" but I got the 3" and after testing and letting a couple hang for a few days, I feel confident that they're in good shape).

I then used parchment paper to mark on the paper where the plates would hang and then put that paper against the wall and marked the spots for nails on the wall. Easy peasy!


I'm also planning to write on the back of each plate where I got it, when I got it, and any other information relating to those plates. I just need to find a porcelain pen, but for now I have a growing list of information for when I do find one. I think it'll be one of those fun things to tell people the stories of the plates when I'm 80 (if I can still remember everything). I can't wait to watch this grow over the years!

Friday, August 31, 2012

Game Day Rag Wreath

I know, I know. I've been a terrible blogger. It's been months since I last wrote about something I baked or created or did, and I apologize because I'm sure so many of you have been lost without me (ha. right.). But today is a new day and it's time to get back into the swing of blogging! And first up is a Game Day Wreath!

I really have discovered a slight obsession with wreaths. I don't think my front door can ever be bare again! But hopefully after this wreath, I won't have to make one for awhile (unless someone else wants me to make one for them) because I have one for all seasons...including football!
Yes, I know this is a super old picture of the stadium, but it's one of my faves that I have
I don't think it's any secret that I'm an NC State fan. Born and bred until the day I die. I also am a HUGE football fan. I really wanted to make a wreath to put up on my door on game days, and I've seen a bunch of rag wreaths on Pinterest and I loved the way they looked, so I thought that would be the perfect direction to take, even though I knew it would be quite the time commitment.

Finding the basic fabrics and wreath form were easy. I went with the 16 inch 4 layer-wire wreath form, and I got a yard each of white, red, and red gingham cotton fabrics. I wanted the wreath to have a little bit of a vintage feel (football is well over 150 years old!) which is why I went with the gingham for a pattern break. BUT I wasn't done yet with my fabric selection.


The dream was to have an NC State patterned fabric also in the mix, but unfortunately all the local fabric stores had no NC State fabric. Well, one had a fleece fabric, but that was not going to work for this project. So thus began the online search. There were a lot of terrible NC State fabrics. A lot of them had old logos I wasn't a fan of, and quite a few had a ton of black and I didn't really want a lot of black in my wreath...it's not "we're the RED and WHITE from State and we know we are the BEST!" for nothing! But then on eBay I found the best vintage fabric! It had the seal with the Bell Tower, and most importantly it had Tuffy, the strutting wolf logo that I LOVE.


I got a yard of that fabric, so all-in-all I had four yards of fabric...and just to warn you if you're thinking of making one, yes, I did use just about all of it. 

I sat down and got to work. I cut each fabric into 1 inch by 9 inch strips. And I ended up with hundreds and hundreds of strips!

To resist any temptation to make the wreath uniform, since I really just wanted it to be a mish-mash, I tossed the strips together so I could just pull from the top as I tied them on!

With season one of Arrested Development on (side note: I am SO pumped for the new season next year!) I spent hours and hours tying. Literally. I got through half the first season (that's about 5 hours). I tied them in a square knot, starting on the inner ring and working my way to the outermost ring. There were eight "sections" in the ring so I went by section rather than row. I was kind of concerned the fabric would be too thin to stay up and not be all droopy, but when I tested a couple strips they worked perfectly!
I know this technically isn't the inner ring, but I took the picture before I changed my method!
When I was finally done, I had...THIS!


It's just so fun! And fluffy! And quite huge. I was no expecting it to be that big, but I guess using all that fabric really would have led to it. I also used one of the magnetic wreath holders because a typical wreath holder would 1) ruin the aesthetic and 2) put it at a spot that would cover my apartment number or peep hole...two things that are very important. You don't really see the NC State stuff on the specialty fabric until you're up close, but I think it's pretty obvious it's an NC State wreath! I can't wait to have this on my door on game days!!