Showing posts with label cookies. Show all posts

Tuesday, December 11, 2012

Christmas Baking: A Smorgasbord of Goodies!

Sometimes when I'm up baking really late at night, and I start talking to myself about what I'm doing (I'm not crazy, I promise), I worry that if someone else was around, this is what they would see:

Oh Swedish Chef. You make me giggle.

Moving on! So for the third year in a row, I completed my crazy Christmas baking extravaganza to send treats to my friends across the country for the holidays. I'm incredibly grateful for the wonderful friends I have in my life, so it's a little way I can show them how much I love and appreciate them. Plus, it's a great excuse to try new recipes. The first year I did it, I did tons of cookies, last year it was bread, and this year it is a variety of treats! I also decided to get very crafty with the presentation of everything.

My apartment basically looked like a baking factory for a couple weeks with my supplies strewn everywhere. I had cards spread out over my couch as I wrote ones for everyone to include in the packages. And then I had to tape up the boxes and set them up for easy packing. This year, I had what I feel is more than normal, but I can't remember. It ended up being 34 people in 21 households (and that's with me forcing myself to limit my list a little this year). The boxes made it a little difficult to walk around for a few days, but all in the name of organization!


Unfortunately, I did a terrible job of taking pictures as I baked this time around, mostly because I was too distracted with trying to finish everything!

So to start, here's the final product! Pumpkin bread in a jar, chocolate fudge in a cookie cutter, and eggnog cookies!

So the Pumpkin bread was by far the funniest baking adventure I've had in awhile. I had never baked anything in a jar before, but I thought it was a clever and cute idea. I ended up buying 12 oz jars, and then I bought fabric and ribbon to dress up the jar a little. I doubled the recipe and then did two batches of that, which made 23 jars of bread. Baking them in the oven was hilarious because it's all a balancing act. You don't want to bake the bread on a baking sheet because it doesn't cook through like it's supposed to, so you need to put them directly on the rack.


When it got close to be doing, I wanted to test a jar to see if it was done or not. Bad idea. I kept knocking jars over in the oven and then struggled to get them balanced on the rack again. I ended up having my head practically in the oven for at least 10 minutes trying to fix it all. But they eventually turned out great! As soon as I took the jars out of the oven, I immediately put the lids on the jars, and as the breads cooled, it sealed the jars. The first time a seal popped, I jumped a little because I forgot it was going to do that. The only problem I ended up having was the shape of the jars made it difficult to really grease them, so everyone will have to make sure they eat the bread from the jar...unless they like big crumb messes.


The rest of my baking was done between 11pm and 3:30am on the Friday night before I mailed everything out. On four hours of sleep. After working a 15 hour day (including 8.5 hours of driving to and from Charleston). But you know what is totally ridiculous? As soon as I started baking, I was just in the zone, very relaxed, and felt like i was moving pretty fluidly. That's why, even when I bake really late like that sometimes, I don't care because it's not stressing me out. Until I see the dirty dishes and then I save them until after I've slept. Ha. 

When I made the cookies, I doubled the recipe, and with making them a small size (about a tablespoon scoop per cookie), I made almost 100 cookies! SO MANY COOKIES. But it meant each person got three cookies each, so it was perfect. I didn't do the glaze on them though because most of them were getting mailed and it was just easier. The thing I loved about the cookies was the eggnog flavor did not hit instantly, and when it did, it was the perfect amount. I then put each person's cookies in little ziplock baggies with snowmen on them! Very festive.

The chocolate fudge was last and I molded each person's fudge in a holiday cookie cutter! I used a random fudge recipe with semi-sweet chocolate chips and marshmallows, and it was soooo rich and delicious. I wrapped each cookie cutter bottom in foil and greased them so as I poured the fudge in, it wouldn't seep out and it would stay in the cookie cutter. After making each batch, I poured the fudge in to the cookie cutters, and used a spoon to spread them to the edges. I had snowflakes, snowmen, christmas trees, sleighs, elves, wreaths, and many other shapes! I then stuck them in the fridge so they could set. It was very labor intensive, but really fun to make. 

I'm glad I finished up all my baking in time to mail everything out, and I hope my friends really enjoy their treats!

Monday, February 27, 2012

Peanut Butter Blossoms with Dark Chocolate Kisses

You know what I haven't done in awhile? Bake. I'm not sure why it's been so long, I think it's because I've had a lot of other things to deal with in the last month and just haven't thought about baking. But luckily I planned ahead, and I had all the ingredients for Peanut Butter Blossoms with Dark Chocolate Kisses in my pantry, ready for when I was ready to bake them. And that day was today!

Do you remember those cookies? They're such classics. I remember they used to sell them in travel packs of two and I would take them with my lunch. I would always eat the cookie around the kiss first before eating the chocolate. So good.

When I saw on Bakerella that she made these classic cookies, but with a dark chocolate twist, I knew that I needed to make those. I have a growing addiction to dark chocolate so I figured I couldn't go wrong with them. Plus, they're so simple to make! They're a good way to get back into the baking groove.

First, warm your oven to the classic 350 degrees after setting out a stick of butter to soften.

Then combine 1.5 cups flour, 3/4 tsp baking soda, and 1/2 tsp salt in a small bowl with a whisk. Set aside.


Then take the 1/2 cup (1 stick) of butter, and cream with 1 cup of peanut butter. One trick I learned (I assume via Pinterest, I can't remember, but that's a pretty safe bet), is that when working with sticky ingredients like peanut butter, take your measuring cup and run it under hot water for a few seconds. Then dump the water out, but don't dry the cup. Then scoop your ingredient (in this case, peanut butter) into the measuring cup to get the right amount, and then dump it into the mixing bowl. Because of the hot water, it won't stick to the cup and so you won't have to keep scraping to get all the peanut butter out and it'll be easier to clean!

You'll want to cream it for a few minutes on medium speed so they're fully incorporated. Then add in 1 cup sugar and mix until fluffy.

Next up is 1 egg and 2 tsps vanilla extract that you can add at the same time. Then just mix until it's well incorporated.

After that, you add in the flour mixture and mix until well combined!

The dough will be pretty stiff at this point, which is perfect! You'll want to take the dough and roll it into 1 inch balls. Then you'll roll them in granulated sugar before putting them on a parchment lined baking sheet. I was able to fit about 20 cookies on each sheet (for a total of 40 cookies). They don't spread out much, so you can fit plenty to a sheet.

After baking for about 9 minutes, take the cookies out of the oven, and immediately push a dark chocolate Hershey's kiss into the center of the cookie! I unwrapped all the chocolates while the cookies were baking so this was a quick step. 

The cookies were super soft and super tasty! Because I put the chocolate in the cookie while it was warm, it made the kisses really soft. The dark chocolate melds very well with the peanut butter and wasn't overpowering which sometimes dark chocolate can be. These are definitely on the list to make again!

Friday, November 18, 2011

Nutella Chocolate Chip Cookies

Yes. You read that heading correctly. NUTELLA CHOCOLATE CHIP COOKIES. My mouth waters at the words.

As much as I love baking with apple butter as a star ingredient (bars, pies, breads, etc.) I'm pretty sure that Nutella is THE best special ingredient you can use to bake. There is just something about that creamy chocolate hazelnut spread that smells/tastes/looks amazing. I never realized how much I could do when it came to baking with Nutella. I've made Nutella Swirl Pound Cake, Nutella mini-brownies, and now, Nutella chocolate chip cookies (and I've saved a handful of other Nutella recipes to try in the future).

I've been having a serious craving for some homemade chocolate chip cookies because they're so much better than the kind you buy in the store. So when I saw this recipe, I knew I had to try it, and as the smell from the oven wafts through my apartment, I'm pretty sure that was a great decision. It's a very simple recipe with few ingredients, and all ones that I had on hand.

You start with 2 cups flour, 1 tsp baking soda, and 1/2 tsp salt. Set it aside.

Cream 1 stick of room temperature butter (8tbsp), 1 cup sugar, and 1/2 cup brown sugar.

Once that is smooth and creamy, add two eggs and 1 1/2 tsp vanilla and mix until completely incorporated.

Then you mix in the flour mixture. I mixed about half of the mixture in first, and then once that's all incorporated, I mixed in the second half. This made sure that there were no flour pockets...or flour going all over my kitchen.

Now, in the past, when cookie dough was slightly dry, I just took it as it was and assumed that's how it was supposed to be. Obviously, I have consistently been wrong, so this time I decided to try something I had read online. I ended up mixing in a little less than 1/4 cup of water into the dough. This was perfect and got it to a nice consistency that I knew would spread how I wanted it to.

Then I added in a heaping 1/4 cup of Nutella, and mix it in for just a few seconds until there's Nutella streaks throughout the dough.

The final step is to add 1 1/2 cup chocolate chips. Mmm. More chocolate!

After putting the dough in heaping tablespoons onto the baking sheet and bake for about 10 minutes at 375 degrees.

And then you have yummy delicious sweet Nutella Chocolate Chip Cookies!

Wednesday, November 9, 2011

Candy Corn Chocolate Chip Cookies

Candy Corn is addictive. Once you start eating them, you can't stop. There's something in the ingredients that makes you just crave more candy corn. So even though it's a couple weeks past Halloween (the prime candy corn holiday), I found a recipe for candy corn chocolate chip cookies that was just begging for me to make it. It was a pretty extensive recipe that took two days and multiple steps. But the end result was....messy...but delicious!

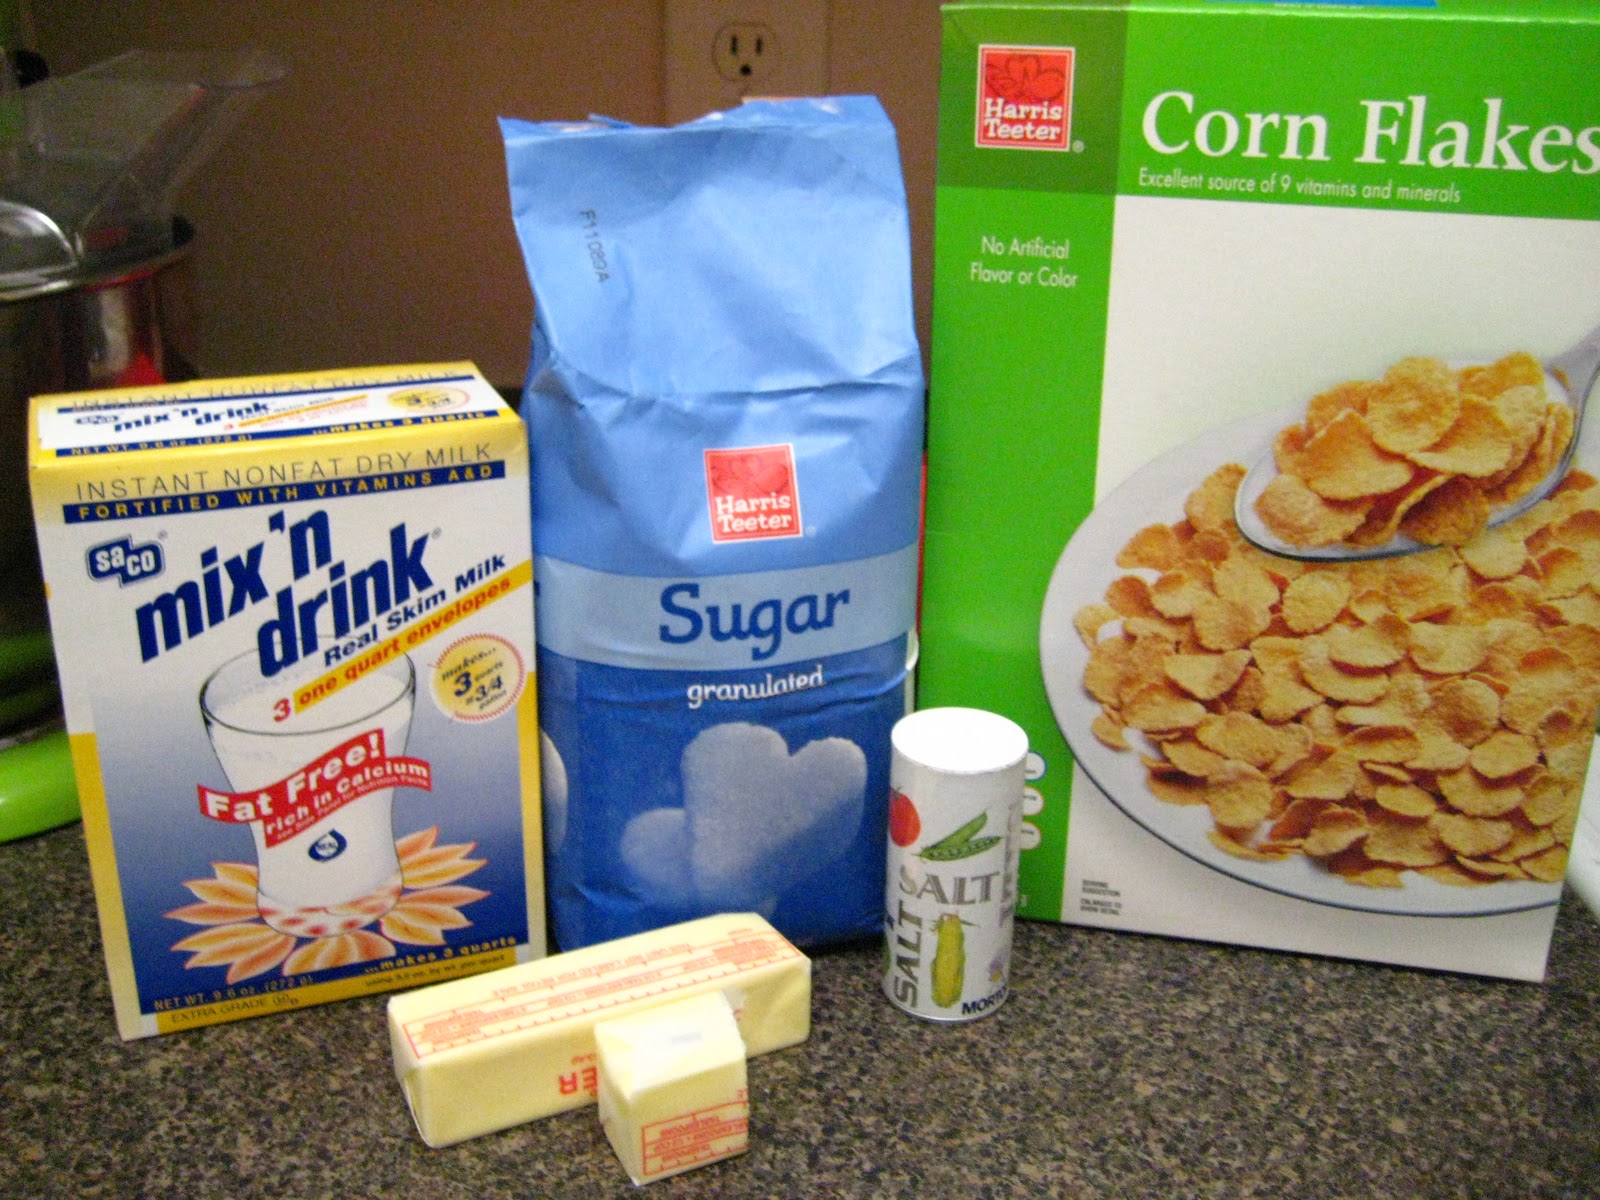
You start out by preparing the cornflake crunch. I know, cornflakes in cookies?? What insanity is this? The crunch is basically 4 cups cornflakes, 3 tbsp sugar, 1/2 cup dry milk powder, 1 tsp salt, and 10 tbsp melted butter all mixed together and then baked to sort of caramelize it.


One of the nice things about having metal measuring cups is that they also serve as good cornflake crushers.
Once the flakes are slightly crushed, add in the dry parts and mix well together.
I suggest using your hands to make sure everything is mixed well for coating. Using a spoon, the dry ingredients just sort of sit at the bottom of the bowl. After melting the butter, mix it in so that everything can coat.
Then spread out on a baking sheet, bake for 20 minutes at 275, and then let it cool for when you add it in to the cookies.
With such simple ingredients, you wouldn't think they'd create much of an aroma, but oh man, they created such a sweet smell. I don't know how to describe it, but it kind of reminded me a little of frosted flakes (one of the best cereals ever).

Now it's time to assemble the cookies!

First the dry ingredients: 1.5 cup flour, 1/2 tsp baking powder, 1/4 tsp baking soda, and 1 tsp salt. Mix them together and set it aside.

Once you have 1.5 sticks of butter (12 tbsp butter. Yea. 12.) softened, beat that with 1 1/4 cup sugar and 1/2 cup brown sugar.
Once it's light and fluffy, add in 1 egg and 1 tsp vanilla.
Then you add in the dry ingredients, and once those are mixed in, you add in the batch of cornflake crunch!

And then comes the candy corn. Ooooooh the candy corn. You only use a cup, but trust me, you only need a cup.

The recipe I was using suggested using mini chocolate chips, but I ended up going with half a cup of regular milk chocolate chips (to be honest, that was a bit of an accident. I grabbed the wrong bag and didn't realize it until I was pouring the chips into the measuring cup).


Once everything is mixed well together, you want to chill the dough for at least four hours. Now, there's a couple ways to do that, but in my opinion, the best way to do it was to scoop out the 1/4 cup sections of dough and wrap them individually so you wouldn't have to fight the dough later.

Lots of cookie dough balls...

Seeing as how it was about 10 at this point, I decided to finish the next day because I did not feel like getting up at 2am to bake cookies. I love to bake, but not that much.

So when I got home from work, I turned the oven to 375 and unwrapped the first batch of cookies. Now here is when things get....messy. The problem with the high heat is that it super destroyed the candy corn. After 15 minutes in the oven, the first batch turned out like this:
Yea. That's not pretty. They may look okay, but trust me, they weren't. I couldn't even get them off the pan that easily. There was no saving them to look like real cookies in the end.

So I decided to turn down the heat to about 325 and see if that prevented the candy corn from melting so much. I had to bake them a little longer, but it sort of helped. Not too much. The second batch at least had the cookie with the very visible candy corn piece. And I was able to get some of those off so that they still looked like cookies.


The third batch...still wasn't all that great...especially since I tried it without lining the cookie sheet. Big mistake. Trying to get those cookies off the sheet was a pain.

So in the end I had a big bowl full of cookie bits because it was almost impossible to have a total cookie survive.

But as my baking motto goes: It doesn't have to look pretty, it just has to taste good. And luckily...they tasted great. They were mega sweet so you can't eat more than like...a few sections of broken cookie, but they were fantastic all the same. Luckily I had friends to take home some, otherwise I would never finish eating them! I definitely like the idea of baking with candy corn, but I need to figure out how to keep them from melting to crystallized sugar!